Last updated on August 25, 2026 pm
准备工作
安装并运行
1
2
| conda create -n pi conda-forge::nodejs
conda run -n pi npx @agegr/pi-web@latest --hostname 0.0.0.0
|
添加模型和插件
1
2
3
| npm:pi-hashline-edit-pro
npm:pi-rtk-optimizer
git:github.com/Limour-dev/pi-ask-user-question
|
安装skill
1
2
| skills.sh/leeguooooo/chrome-use/chrome-use
skills.sh/badlogic/pi-skills/brave-search
|
配置插件外部依赖
1
2
3
4
5
| conda install -n pi conda-forge::rtk-cli
conda install -n pi reportlab pdfplumber pypdf
conda install -n pi pip
AGENT_BROWSER_NO_SKILL=1 curl -fsSL https://raw.githubusercontent.com/leeguooooo/chrome-use/main/install.sh | sh
|
chrome-use extension install
注意事项
- 接入格式用兼容 Anthropic 接口对工具识图更友好
效果图
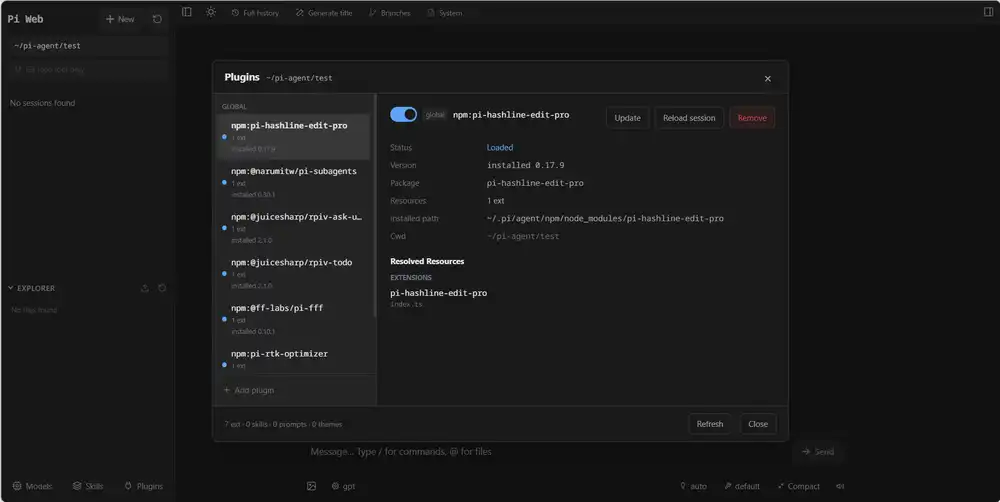
附加 拓展推荐
1
2
| npm:pi-mcp-adapter
git:github.com/justhil/pi-image-gen
|
【记录】安装并配置pi-agent
https://hexo.limour.top/installing-and-configuring-pi-agent